Most electric scooter commuting advice is written by someone who rode around a parking lot once and then wrote two thousand words about top speed. That is backwards. A commute is a fixed route you have to repeat in the dark, in the heat, and in the rain, and the things that decide whether you keep doing it are hill climbing, tire pressure, battery capacity in watt-hours, and where the scooter sleeps for eight hours while you are at work.
I ride 14 miles round trip across the Congress Avenue bridge most weekdays, car-free since my 2008 Honda quit on me at Lamar and 38th. I have owned seven scooters, blown two controllers, patched four tubes, and replaced one deck. This is the setup I would hand to a friend who just bought their first commuter scooter and wants to still be riding it in two years.
Why you should trust me
I have not ridden every scooter on the market and I am not going to pretend I have. What I have done is put the same 14 miles a day on the same bridge, through the same August, on seven different scooters, and kept a repair log and a mileage spreadsheet the whole time. I know what a dying controller smells like, I know which tires hate Texas heat, and I know the exact moment a "water resistant" scooter starts lying to you.
I also do not repeat a range claim I cannot back up with watt-hours and a rider weight. If a spec sheet hides the battery capacity in amp-hours, that is not an accident, that is a marketing decision, and it tells you something about the rest of the scooter.
One more thing, and I mean it: no scooter gets recommended here without a helmet. Every ride, every time. The nurse who explained to me what a scooter crash without one looks like is the reason I say this in every article.
How I picked and how I tested
There is no lab here. There is a route, a scale, and a notebook. What I look at, in this order:
Watt-hours first. Voltage multiplied by amp-hours gives you the real capacity. A 48V 15Ah pack is 720Wh. That number, plus your weight and the hills, is the only honest predictor of range. Amp-hours alone are marketing math because they ignore voltage entirely.
Hill performance second. If it cannot climb the bridge at my weight without voltage sag turning 50 percent battery into 20 percent battery, the top speed number is decoration. A scooter that does 24 mph on flat ground and 9 mph up a grade is a scooter you will resent by week three.
Tires third. Tubed tires on a commuter are a maintenance subscription. You will learn to patch a tube or you will pay someone who can, and in August you will do it in a parking lot with sweat in your eyes.
The controller fourth. It is the soul of the scooter. A cheap controller will strand you at 9 PM with a burnt-toast smell and a long walk home.
Carry weight fifth. A scooter you cannot get up three flights of stairs is not a commuter scooter, it is a garage ornament. Weigh it in your head against the stairs you actually climb.
Everything below is filtered through those five questions, and every range figure I quote from a manufacturer gets the same caveat: your mileage will be lower, and the box knows it.
What you need before the first commute
Two purchases do most of the work for a new commuter: the scooter itself, and somewhere for it to live when you are not on it. Everything else is accessories you can add later.
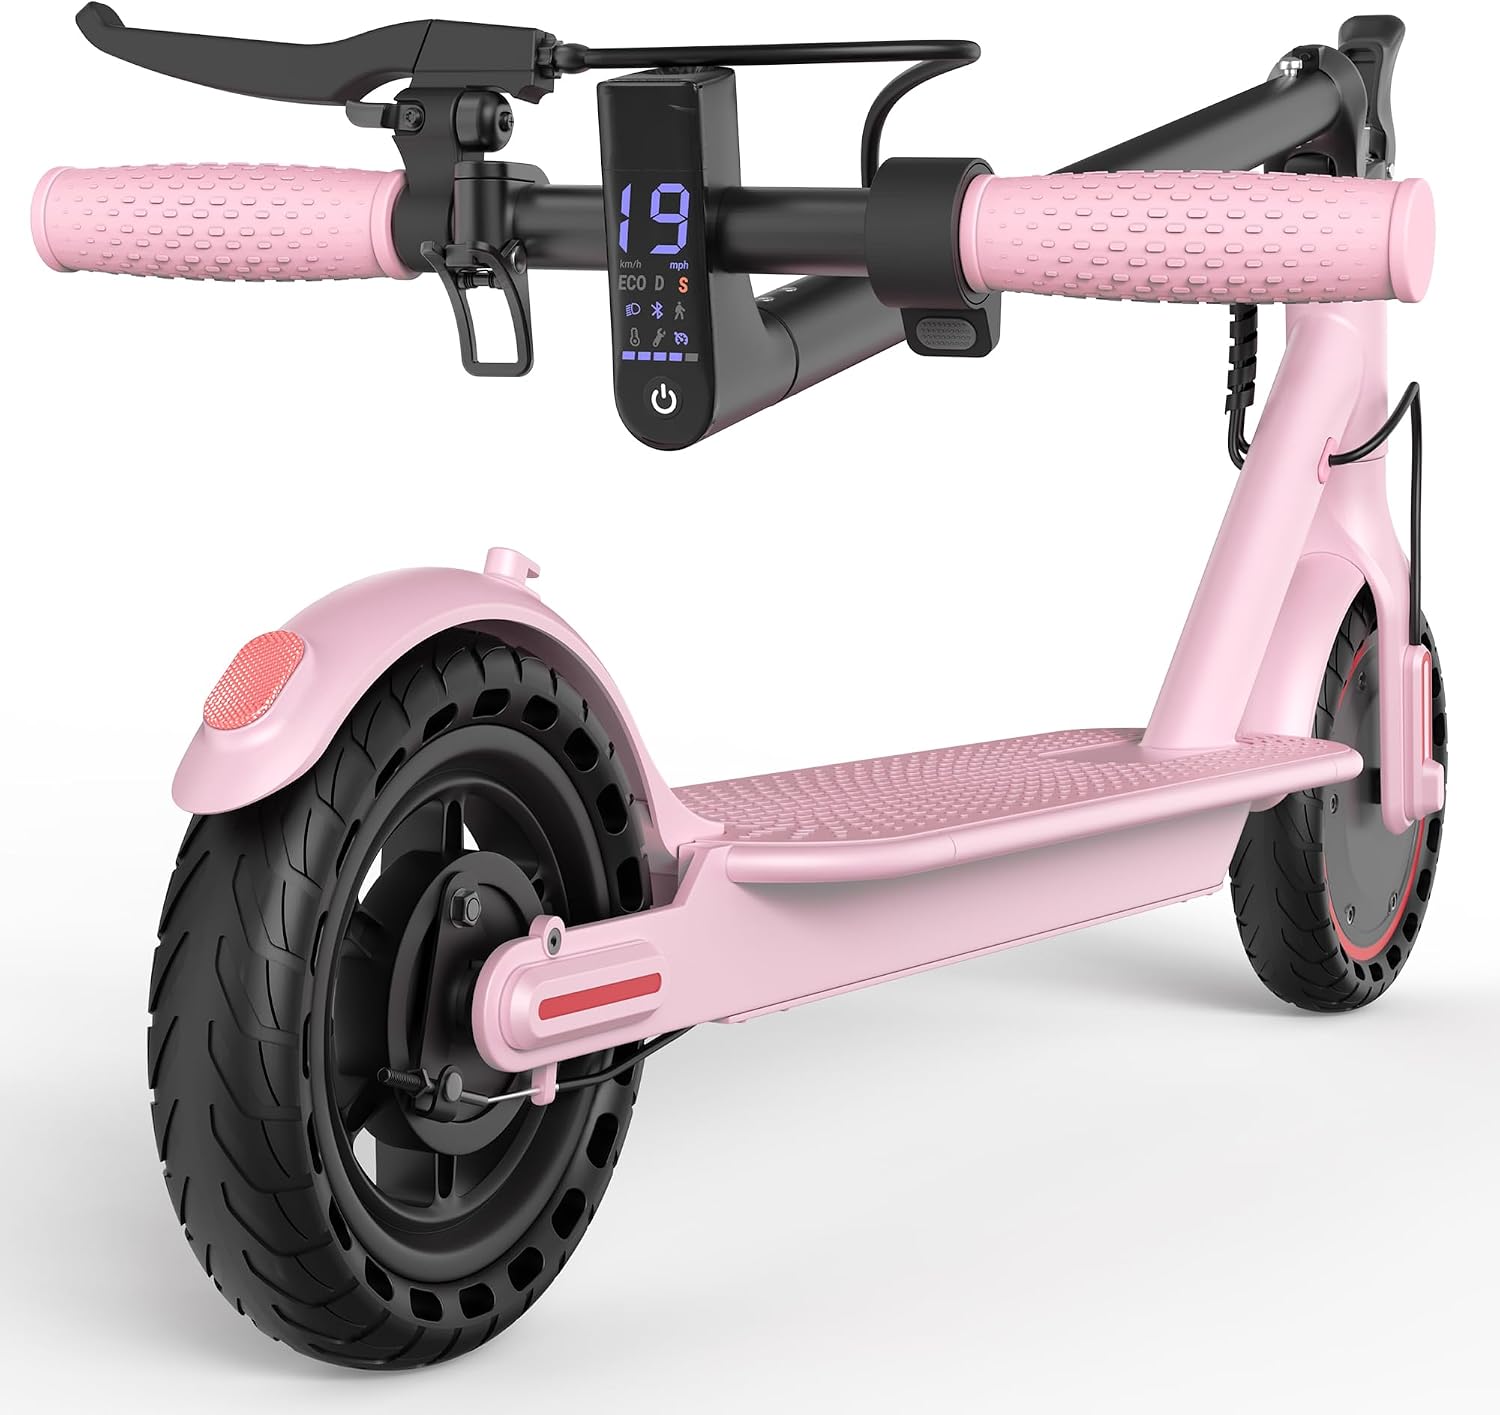
The ride: Aovowheel Electric Scooter for Adults, Folding E Scooter with 250W-500W Motor
 Visit on Amazon →
This is a folding commuter scooter built around a 250W to 500W motor, a 16 to 24 mph top speed, dual brakes, and a tire lineup that runs from 6.5 inch wheels up to 14 inch wheels depending on the configuration you pick. The folding hinge is the part that matters for a commuter, because it is the difference between a scooter that goes into the corner of an office and a scooter that lives on a bike rack in the sun.
Read that range claim carefully, because it is the most honest dishonest number on the page. "Max 15 to 60 miles" is not a range, it is a range of ranges, and the spread tells you exactly how much rider weight, mode, and terrain change the answer. At 185 pounds in August with a bridge to climb, you should plan your week around the low end of that spread and treat the top number as something that happens to a lighter rider on flat ground with a tailwind. That is not a knock on this scooter specifically, it is how every range claim in this category works.
The dual brakes are the feature I would not compromise on for a first commuter. One brake is a suggestion, two is a plan.
Flaws but not dealbreakers: The tire sizes vary by configuration, so decide which one you are buying before you check out, and read the listing for the actual wheel size on that build. Smaller wheels are lighter and easier to carry upstairs, larger wheels handle potholes and curb transitions better. Neither is wrong, they are different commutes.
Anyone riding a few flat miles each way to work, or a mixed scooter and bus trip, is the right buyer here.
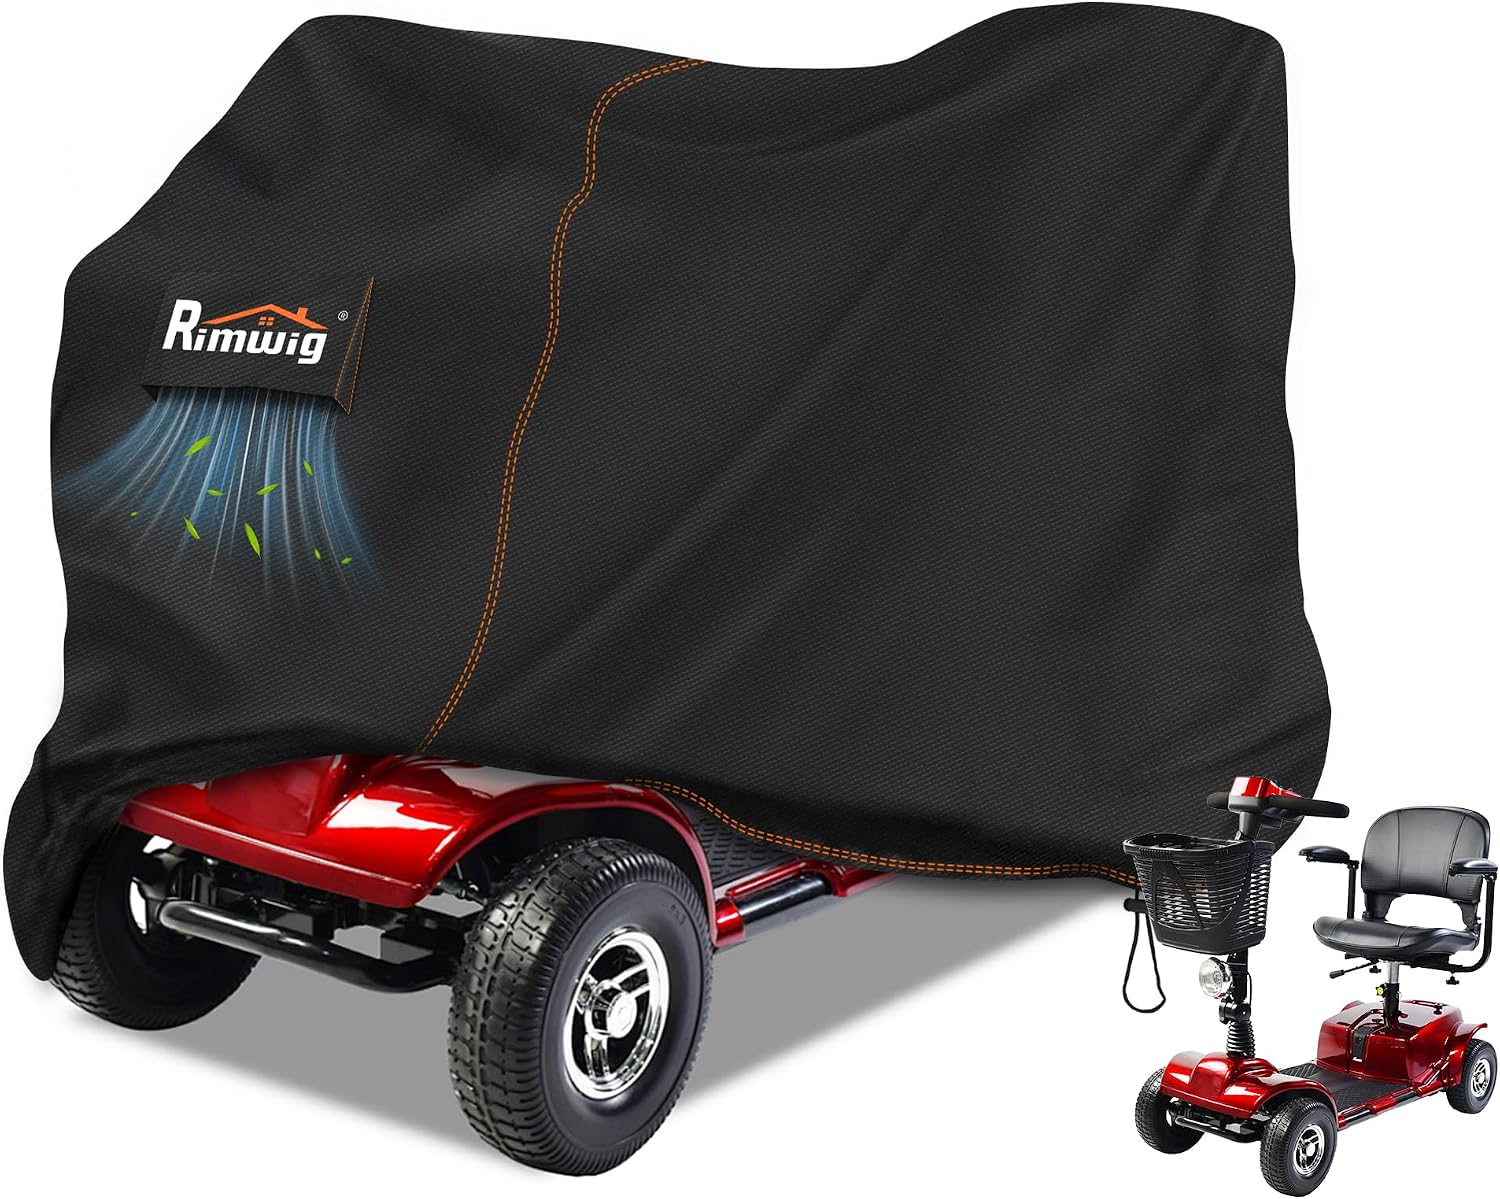
The shelter: 420D Mobility Scooter Cover Waterproof for 3-4 Wheel Scooters 49x22x39in
 Visit on Amazon →
This is a 420D waterproof cover sized at 49 by 22 by 39 inches for 3 and 4 wheel scooters. If your scooter parks outside at work, on a patio, or under a carport that leaks, this is the cheapest insurance you can buy against the two things that actually kill scooters in Austin: rain into the deck and UV cooking the grips and display.
The cover is built around the footprint of a mobility scooter, which is a longer, taller shape than a folded commuter scooter. That is not a problem, it is a measurement problem. Get a tape measure, fold your scooter the way you will actually leave it, and compare your numbers to 49 by 22 by 39 before you order. A cover with too much slack flaps in the wind, and a flapping cover in a thunderstorm is a sail attached to a scooter you would rather keep upright.
The 420D denier rating is the number to care about here. Thinner covers tear at the corners within a season. This is the weight class that survives a summer.
Flaws but not dealbreakers: It is a cover, not a lock and not a garage. It keeps weather off. It will not stop anyone determined, so pair it with a real lock and, if you can, a spot that is visible from a window.
Anyone whose scooter sits outside for eight hours a day, five days a week, is exactly who this is for.
The actual setup workflow
Now the part you came for. This works on any commuter scooter, and it takes one afternoon plus ten minutes a week after that.
Step one: Measure the route before you buy anything. Ride the route on a bike or a borrowed scooter first. Note the total distance, the worst hill, the road surface, and how many stairs are at each end. That last one eliminates more scooters than any spec sheet ever will.
Step two: Do the watt-hour math. Find the voltage and the amp-hours, multiply them, and write the number down. Then compare it to the distance you measured in step one. If the pack is small and the route is long, you are shopping for a different scooter, not a bigger charger.
Step three: Set tire pressure and check it weekly. This is the single most ignored spec on any scooter. Ten PSI low costs you range, speed, and tube life at the same time. Buy a gauge with a real dial, not the one on a cheap floor pump, and check it every Sunday. I average about once a month and I have the flat-tube scar to prove it, so do as I say here and not as I do.
Step four: Build a charging routine that never deep-discharges the pack. Charge at home, charge at work if you can, and keep the battery between roughly 20 and 80 percent for daily riding. Full charges are for the night before a long ride, not every night. Heat plus a full pack plus a garage is the combination that ages cells fastest.
Step five: Decide where the scooter lives at work. Inside, folded, in the corner, is the best answer. If that is not possible, a covered spot with the waterproof cover on is the second best. Direct sun for eight hours a day is worse for the display and the grips than rain is.
Step six: Gear up before the first real ride. Helmet first, then lights front and rear, then a lock that costs enough to hurt. A cheap cable lock is a countdown timer. Wear what you would want to be seen in, not what looks fastest.
Step seven: Write the rain plan before it rains. The IP rating on your scooter tells you how much water it tolerates. IP54 means rain-safe-ish. Anything less is a fair weather toy, and "water resistant" with no rating at all means it is not. If the forecast is a downpour, the plan is the bus, and that is not a failure, that is a backup.
Step eight: Keep a log. Every tire pressure check, every charge, every weird noise. Three lines a week. When something fails, and something will, the log tells you whether it is a fluke or a pattern. I have a battered notebook that has saved me from buying a second bad controller.
The car, the bus, and the bike
I am not going to pretend a scooter wins every trip. On the same 14 mile route, the car is faster on a cold morning and costs more every single month. The bus is cheaper and slower and runs on someone else's schedule, which is fine until you are leaving at 2 AM. A bike is the closest competitor and the honest answer is that a bike wins on fitness and loses on arriving without a sweat through your work clothes in July.
Where the scooter wins is the middle distance: too far to walk, too short to justify a car, too hot to bike in work clothes. Five to fifteen miles each way, in a city with bike lanes and a bridge you can actually climb. That is the trip this whole setup is built around.
What this all costs
The honest version is that the scooter is the purchase and everything after it is maintenance. Over a year you should expect to spend on tubes or tires, at least one accessory you did not plan for, a helmet, a lock, and a cover. That is the floor, and the cover is the cheapest line item in it.
The math that matters is not the sticker on any single item. It is what you stop paying: parking, gas, rideshares when the bus does not come, and the maintenance on a car you barely drive. Do that math with your own numbers before you buy anything, and do it honestly, including the months you will still take a car.
Then set the tire pressure, charge the battery sensibly, cover the scooter when it sits outside, and ride the same route long enough that you stop thinking about the scooter at all. That is the goal. A commute you do not have to think about is a commute you will keep.